Day 8 CGEM Setup Part Two
 Wednesday, February 19, 2014 at 7:20AM
 CLICK THROUGH THE LINKS ABOVE TO MOVE FORWARD OR BACK
Still cloud around but looks more promising today. The weather forecast says sunnny today and clear tonight - we shall see.
By miday the sun had arrived with blue sky - not windy - looking good.
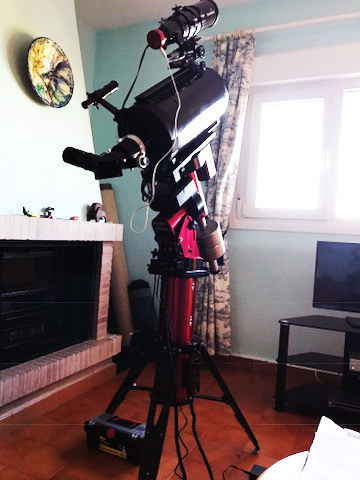
I continued setting up the 4" refractor on the CGEM today.
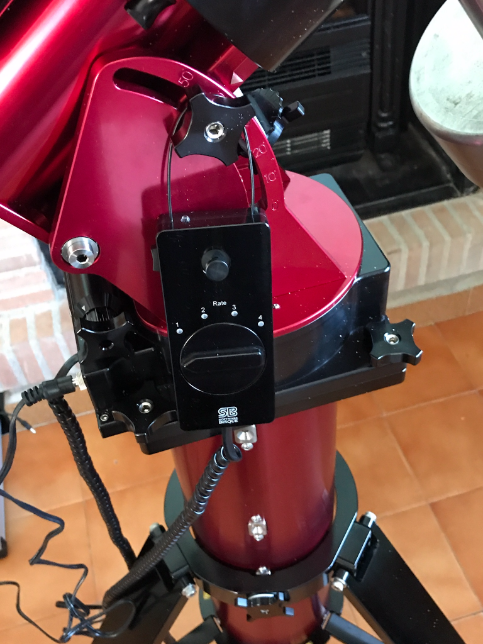
This image shows the power going into the CGEM. I have two ways of doing this - directly from the mains dc adaptor or via my car type cigar lighter cable from a mains to ciglighter output socket power supply that I bought recently. The image shows the latter cable plugged in. The problem with the former is that there is no threaded lock on the power cable for some reason - although there is a thread provided on the CGEM. The latter cable however did come with a threaded locking collar. With the less secure former method the cable has fallen out during observing which is infuriating as the CGEM does not have an absolute shaft encoder so you have to plug in and start again on the alignment process! I decided therefore to go with the latter method as (also) I can use my mains connected ciglighter approach without the need for a battery power pack. The hand controller simply plugs into the appropriate socket an the CGEM head as shown.
I then set up my illuminated reticle eyepiece so that I can guide through the 4" manually for long exposure images using my Canon 40D with a variety of lenses. The power for this comes from a ciglighter plug cable using 12V. The original LED on this eyepiece had died so I soldered in a 12V LED (includes a series resistor) to replace it. It seems extremely bright but I will test it later. I just realised that I have a variable output 0-12V interface for heater tapes but may have forgotten to bring that with me! That would probably have done the trick with a bit of fiddling.
The eyepiece is located in the 45 degree prism which fits into the 2" barrel and has a 2" to 1 1/4" adaptor to accept the reticle eyepiece.
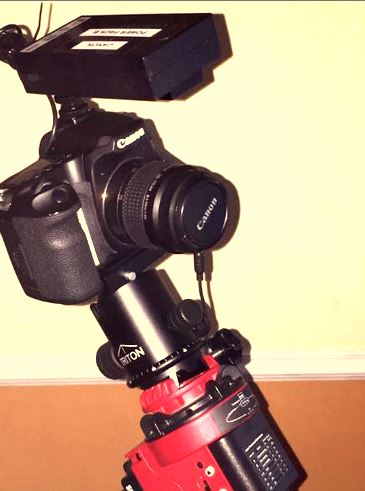
I attached the Canon 40D to the camera mounting bracket that I had in fact bought for the C14 but did not fit that - even though it was advertised as doing so - I managed to get it to attached to the 4".
The image below shows the Canon replacement battery interface that allows me to use a ciglighter input to a dummy battery that fits the battery compartment with a wire neatly fitting through the gap on the battery door.
The image below shows the wiring into the battery compartment.
This is the mains to 12V supply with an adaptor (next image) plugged into the socket.
The adaptor is shown below. The outputs are:
1. Canon 40D Power Supply.
2. CGEM Mount Power Supply
3. Illuminated Reticle Eyepiece Power.
This means that all I have to do is switch on the power supply and the camera will power up when swirtched on, as will the CGEM, and the eyepiece LED will be on immediately.
Another requirement is for USB control of the Canon 40D and the CGEM. The image below shows the adaptor that is connected to the mains powered scope to house cable on one side and the CGEM USB input cable and the Canon 40D USB input cable on the other.
 [Your Name Here] | Comments Off |
